Getting Started
Package Types
Scene Setup
Economy
Scripting

Components

Guidelines
Support
Key Differences: Spatial and Standard Unity3D development
- Key Differences: Spatial and Standard Unity3D development
- Using Third-Party Packages
- Camera
- PlayerPrefs, Save Data, and the Data Store
- Resources
- Strategies for Referencing Assets
- Scene Management
- Create levels as prefabs and instantiate/destroy them.
- Create a SceneManager to handle top level “scenes”
- Avatar control
- Hiding the avatar / other avatars
- Changing avatar mesh / visuals
- Changing avatar animation
- Moving your avatar
- Controlling input
- Tasks, async/await, and Coroutines
- EventSystem
- Allowed and banned APIs and suggested replacements
Using Third-Party Packages
Unity Packages with C# code require some changes to work with the Spatial Creator Toolkit, and there are some important limitations.
- ⚠️ Packages with precompiled DLLs are not supported.
- All C# code must be in your Creator Toolkit Space’s C# assembly.
- Packages must not use any of the APIs banned by the Spatial C# Scripting Runtime.
- To port a third-party package:
- Copy the package’s source into your Creator Toolkit Space’s C# assembly folder.
- If the package has any runtime assemblies of its own (i.e.
.asmdef), those need to be removed and any missing references must be resolved. Assemblies in anEditorfolder do not need to be removed. - Check for errors or warnings about banned APIs.
- If there are banned APIs in editor-only code, ensure that the code is in a
Editorfolder, or that you use a#if UNITY_EDITORdirective. - For banned API usage in runtime code, remove the code if possible and replace with alternate APIs. See also our guide to allowed and banned APIs as well as the rest of this document for guidance.
- In practice, we’ve found that many packages can be adapted with a moderate amount of effort. ⚠️ However, some packages cannot be supported if they have a hard dependency on banned APIs.
You can find a list of third-party packages with porting instructions here, including packages such as tweening and car control packages.
Camera
Spatial does not provide access to Camera.Main; instead i provides its own camera API. For more details on this, and on using Cinemachine, see the Camera documentation.
PlayerPrefs, Save Data, and the Data Store
Spatial does not support PlayerPrefs. Instead we have a cloud-save system we call the DataStore.
Saving to the DataStore creates a server request so we rate limit writes. This means inside your game-loop you should be reading/writing your save data to an intermediary C# object which you periodically write to the DataStore.
For more information view the DataStore API Reference.
Resources
A common technique for referencing assets in Unity is to drop them all inside a /Resources folder then load them at runtime with Resources.Load(.... Unfortunately, Unity3D does not allow Asset Bundles to add contents to Resources, so Spatial does not allow Creator Toolkit projects to use Resources.
Strategies for Referencing Assets
Instead, you can re-create the Resources.Load workflow with ScriptableObjects. Create an object that holds a collection of UnityEngine.Objects and then add the assets you want to reference to it.
[CreateAssetMenu(fileName = "NewAssetCollection", menuName = "AssetCollection")]
public class AssetCollection : ScriptableObject
{
    public UnityEngine.Object[] assets;
}
You can then search through the AssetCollection.assets by object name similar to Resources.Load.
AssetCollection is not directly referenced by a GameObject in the scene it will not be included.Scene Management
A key limitation of Spatial Creator Toolkit projects is they can only have one scene. This means that if you’re used to creating several scenes for different levels, or even reloading the same scene to reset the game, you’ll have to design around this limitation.
Here are some useful strategies that we’ve used internally and with teams that help work around this limitation:
Create levels as prefabs and instantiate/destroy them.
For Buddy Blitz we used this strategy, and the levels were loaded and unloaded via scripting. While on development, we actually had different scenes with the prefab we wanted to test.


As you can see, using this strategy you will be able to subdivide your content and load/unload it accordingly.
Create a SceneManager to handle top level “scenes”
Group your “scenes” as a top level game objects and create a SceneManager script that handles loading/unloading. This is similar to the first strategy, but you could potentially have everything on the scene. In the following sample, the Scene script was just created to recreate the scene object when the Restart() function is called.


Avatar control
When you load your space on Spatial, you will notice that Spatial already provides an avatar controller that allows users to control their character from any of our provided platforms. However, there are times where we want to be able to control how the Spatial avatar moves, where it moves, how it looks, or how it animates. Unlike a direct Unity project, Spatial doesn’t provide direct access to the avatar controller game object, but rather it exposes key functionality thru the use of Spatial Services. All of these services are part of our SpatialBridge and we’ll go thru them:
Hiding the avatar / other avatars
Sometimes you want the be able to hide the user avatars for different reasons. For example, hide the avatar when riding a vehicle, or a cutscene where you want the other avatars on the space to disappear while you show it. We can do this using the avatar’s visibleLocally and visibleRemotely variables. These variables will allow you to control how your avatar is presented on your device, on other user’s devices, and how other user’s avatars look on your device.
visibleLocallyhides the avatar on your device. You can set this for any actor’s avatar, including localActor.visibleRemotelyhides the avatar for everyone. Only available on localActor’s avatar.
public void ToggleRemoteVisibility()
{
    // Change visibility on my avatar to everyone's client
    SpatialBridge.actorService.localActor.avatar.visibleRemotely = !SpatialBridge.actorService.localActor.avatar.visibleRemotely;
}

public void ToggleLocalVisibility()
{
    // Change visibility of my avatar only on my client
    SpatialBridge.actorService.localActor.avatar.visibleLocally = !SpatialBridge.actorService.localActor.avatar.visibleLocally;
}

public void ToggleLocalVisibilityOtherAvatars()
{
    // Change visibility of other avatars on my client
    foreach (var actor in SpatialBridge.actorService.actors.Values)
    {
        if (actor != SpatialBridge.actorService.localActor)
        {
            actor.avatar.visibleLocally = !actor.avatar.visibleLocally;
        }
    }
}
Changing avatar mesh / visuals
To control the local avatar’s visuals, you can use the local avatar’s SetAvatarBody function (see https://cs.spatial.io/reference/SpatialSys.UnitySDK.IAvatar.SetAvatarBody). This function allows you to change the avatar to a SpatialAvatar that’s either uploaded to your spatial world as a separate package, or change it to a SpatialAvatar embedded within your space package.
public void ChangeAvatarBody()
{
    // Change the user's avatar to an embedded asset avatar
    SpatialBridge.actorService.localActor.avatar.SetAvatarBody(AssetType.EmbeddedAsset, "OgreAvatar");

    // Change the user's avatar to a Spatial Studio avatar
    SpatialBridge.actorService.localActor.avatar.SetAvatarBody(AssetType.Package, "ITEM_ID_FROM_SPATIAL_STUDIO");

    // Reset the user's avatar to the default
    SpatialBridge.actorService.localActor.avatar.ResetAvatarBody();
}
As you can see, there are multiple ways of creating the body. See https://docs.spatial.io/components/custom-avatars to understand how to create a custom avatar.
- Embedding into the Unity Space. If you’re planning on only including this avatar on one space, this is probably the easiest way to use your custom avatar.
- Create an prefab with your custom avatar
- Add the Spatial Avatar component to that prefab
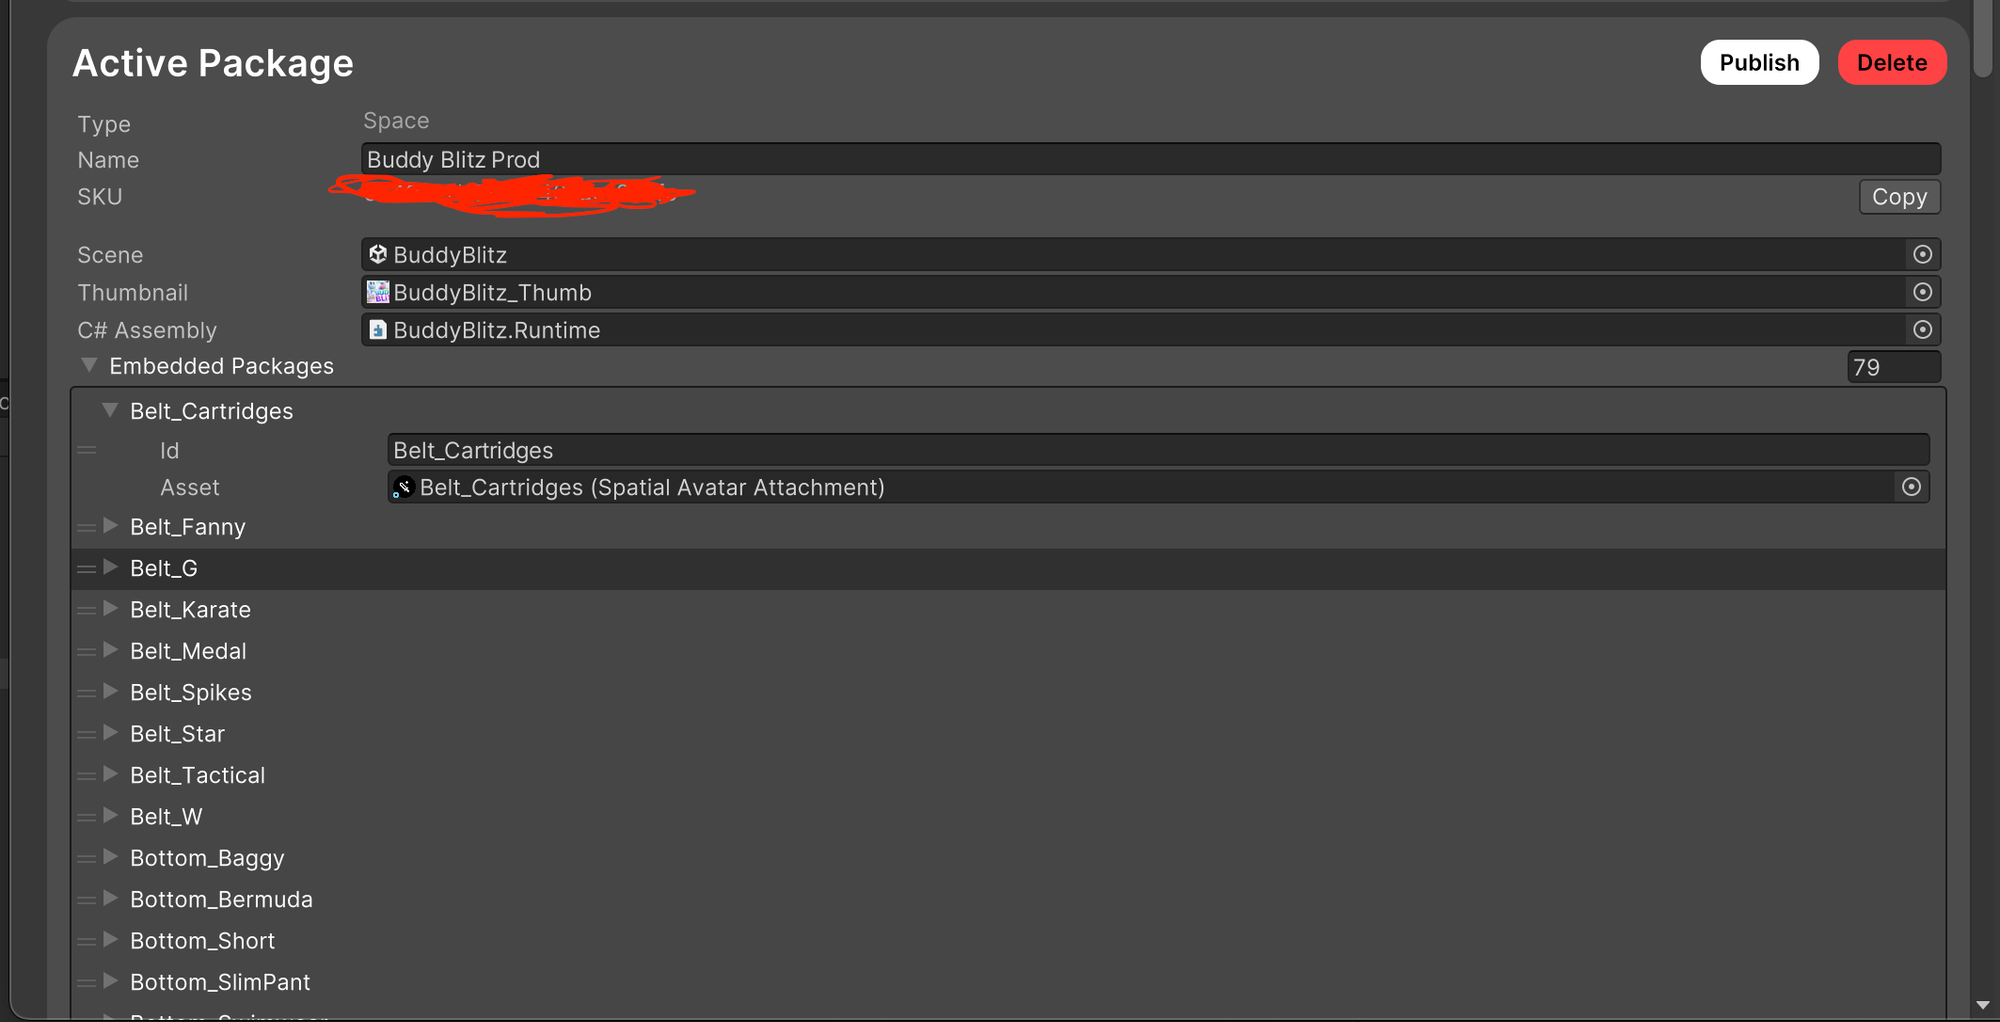
- Open your space package configuration
- Add the prefab to your embedded packages list with an id. This ID is the one used with SetAvatarBody.
- Uploading to Spatial Studio. This is useful when you want to be able to share the custom avatar body between different spaces on the same world.
- Create a prefab with your custom avatar
- Add the Spatial Avatar component to that prefab
- Open your Spatial SDK Configuration screen
- Create a new package of type
Avatar - Select the newly created avatar
- Publish it
- Copy the SKU. This SKU is the one used with SetAvatarBody.
Changing avatar animation
Sometimes you’d like to change the avatar’s animation. You can do this using the PlayEmote and StopEmote functions on your local avatar (see https://cs.spatial.io/reference/SpatialSys.UnitySDK.IAvatar.PlayEmote).
public void StartSwimming()
{
    // Play the swim animation on the local actor's avatar
    SpatialBridge.actorService.localActor.avatar.PlayEmote(AssetType.EmbeddedAsset, "SwimAnimation", immediately: true, loop: true);
}

public void StopSwimming()
{
    SpatialBridge.actorService.localActor.avatar.StopEmote();
}
Moving your avatar
You can move your avatar directly by setting its position directly.
SpatialBridge.actorService.localActor.position = new Vector3(1, 0, 0);This will basically teleport the avatar where you want. You can combine it with some input controller overrides and be able to move your avatar as you please.
Another way you can move the avatar is using the Move function, which simulates character input to move the avatar towards a location.
SpatialBridge.actorService.localActor.Move(Vector3.right);Controlling input
Spatial already provides a way to control your character. This includes using webgl, and mobile input controls. However, we are aware our control scheme might not fit every type of game, and you may want to change how the avatar is controlled.
There are several ways to control your avatar’s input. Sometimes you want to be able to fully override all input and control it yourself, other times you just want to modify Spatial’s existing behavior. We can take a look at the input service’s input capture functions:
StartCompleteInputCapture- Use this when you want to disable all Spatial controls and take full control of inputs yourself. In order to use it, you need to send a class that implements theIInputActionsListenerinterface. Sample use cases include:- Disabling any kind of user input
- Wanting to take full control of how the avatar moves with another set of keys and rules
StartAvatarInputCapture- Use this when you want to just override part (or all) of the avatar input. In order to use it, you need to implement theIAvatarInputActionsListenerinterface. Sample use cases include:- Disable jump temporarily
- Disable action button
- Map a different action when pressing the jump or action button
- Override how the avatar moves
StartVehicleInputCapture- Use this to override part (or all) of the vehicle input controls. In order to use it, you need to implement theIVehicleInputActionsListenerinterface. Sample use cases include:- Disabling breaks
- Making the primary button do a turbo
- Making the secondary button make a flip
ReleaseInputCapture- Use this to release the started input capture. This is useful when you’ve started any kind of input capture and want to go back to Spatial’s default input capture.
Sample use case
Lets say we’re building a racing game in which when you finish the game, there is a score screen showing stats and results. We could just show the ui, but when the user moves with WASD, the avatar will still be controlled. This is a perfect scenario for taking control of the avatar:
- When showing the results screen, start complete input capture.
- Once the results screen is dismissed, resume input capture.
The following code shows an example of how you might do this:
class ScoreScreen: MonoBehaviour, IInputActionsListener
{
		public TMP_Text scoreLabel;

		public void OnEnable()
		{
				scoreLabel.text = "Score: " + GameManager.GetScore();

        // Start capturing input
        SpatialBridge.inputService.StartCompleteInputCapture(this);
		}

		public void OnDisable()
		{
				// Release input capture when hiding this game object
        SpatialBridge.inputService.ReleaseInputCapture(this);
    }

    #region IInputActionsListener
    public void OnInputCaptureStarted(InputCaptureType type)
    {
        Debug.Log("Started capturing input");
    }

    public void OnInputCaptureStopped(InputCaptureType type)
    {
        Debug.Log("Stopped capturing input");
    }
    #endregion
}
Tasks, async/await, and Coroutines
Spatial Creator Toolkit does not support async/await, System.Threading, or System.Threading.Tasks.
For asynchronous code, use Unity’s Coroutines.
EventSystem
Spatial Creator Toolkit projects can use Unity’s EventSystem, but because Spatial already has an EventSystem object, exclude your EventSystem from non-Editor platforms.
- Create new GameObject and name it "Event System"
- Add Event System component
- Change the object's Tag to "EditorOnly"
Allowed and banned APIs and suggested replacements
- Key Differences: Spatial and Standard Unity3D development
- Using Third-Party Packages
- Camera
- PlayerPrefs, Save Data, and the Data Store
- Resources
- Strategies for Referencing Assets
- Scene Management
- Create levels as prefabs and instantiate/destroy them.
- Create a SceneManager to handle top level “scenes”
- Avatar control
- Hiding the avatar / other avatars
- Changing avatar mesh / visuals
- Changing avatar animation
- Moving your avatar
- Controlling input
- Tasks, async/await, and Coroutines
- EventSystem
- Allowed and banned APIs and suggested replacements
